You can use the EDATE() function in Excel to quickly add a certain number of months to a date.
This formula uses the following basic syntax:
EDATE(start_date, months)
where:
- start_date: The starting date
- months: The number of months to add to the starting date
For example, we can use the following syntax to add 10 months to the date in cell A1:
=EDATE(A1, 10)
The following example shows how to use this function in practice.
Example: Add Months to Date in Excel
Suppose we have the following list of dates in Excel:

We can type the following formula into cell B2 to add three months to the date in cell A2:
=EDATE(A2, 3)
We can then drag and fill this formula down to each remaining cell in column B:

By default, Excel will display the dates in a numerical format.
To display the dates in a recognizable date format, highlight the cells in the range B2:B11, then click the Number format dropdown arrow and choose Short Date:

The dates will then be formatted correctly:
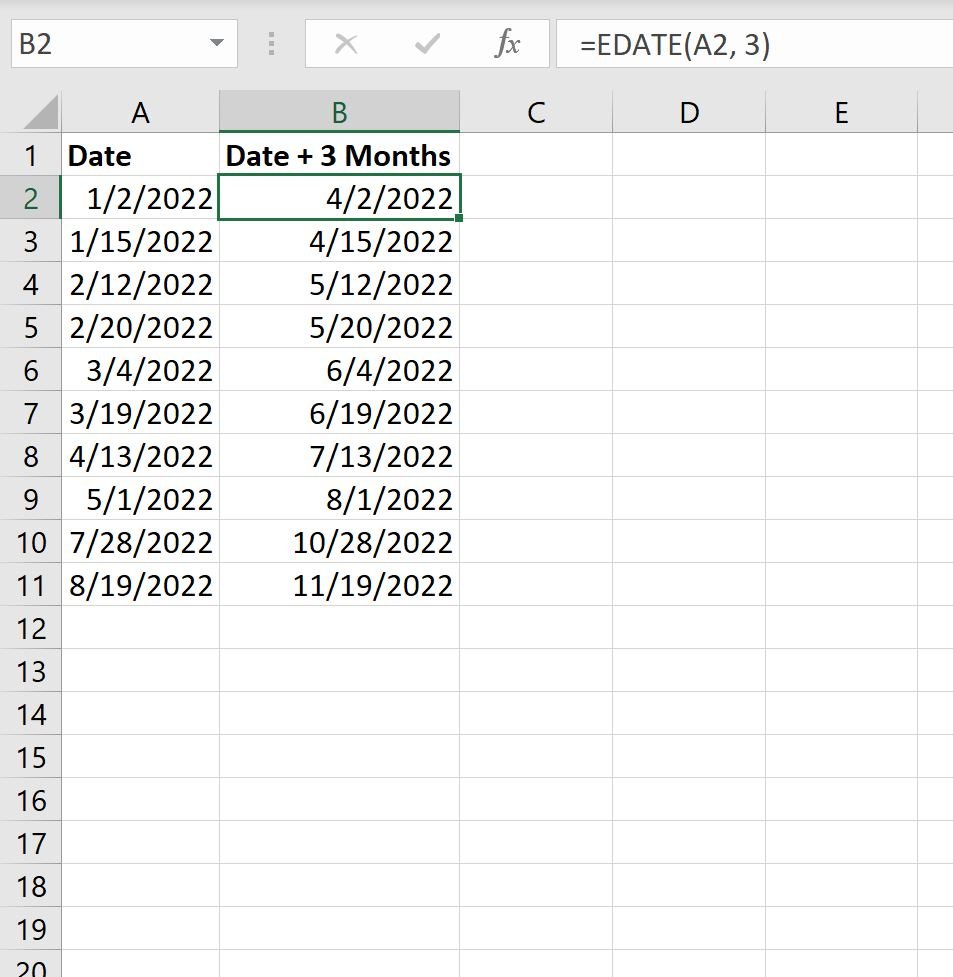
Notice that each of the values in column B show the value of the date in column A plus three months.
Note that you can also use negative numbers to subtract months from a date.
For example, we could type the following formula into cell B2 to subtract three months from the date in cell A2:
=EDATE(A2, -3)
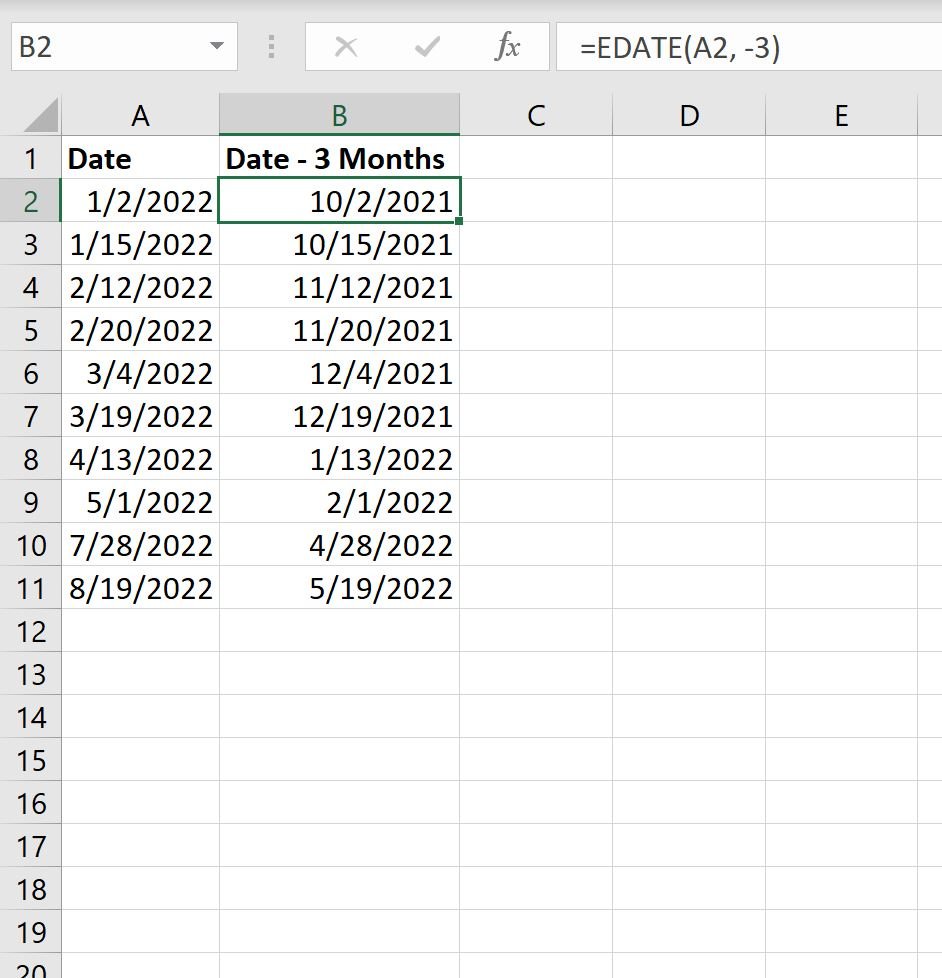
Now each of the values in column B shows the value of the date in column A minus three months.
Note: You can find the complete documentation for the EDATE() function here.
Additional Resources
The following tutorials explain how to perform other common tasks in Excel:
How to Convert Days to Months in Excel
How to Calculate Average by Month in Excel
How to Calculate the Number of Months Between Dates in Excel